Enumerating Active Directory
![[attachments/Pasted image 20240510095503.png]]
This room covers various Active Directory enumeration techniques, their use cases as well as drawbacks.
In this write-up, I’ll only be covering sections people might have difficulty with.
Task 1: Why AD Enumeration
Here is how you can setup your machine if you are making use of OpenVPN on Kali Linux
First up go to the access page
Next is to download the OpenVPN configuration file for this room.
Select Networks > “adenumeration”
![[attachments/Pasted image 20240510095738.png]]
Download configuration file
![[attachments/Pasted image 20240510095818.png]]
Connect using configuration file:
sudo openvpn <config_file>
![[attachments/Pasted image 20240510095907.png]]
Confirm connectivity by checking the access page:
![[attachments/Pasted image 20240510100011.png]]
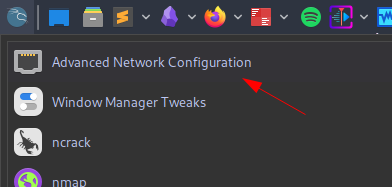
Next is to configure DNS.
Search for “Advanced Network Configuration”
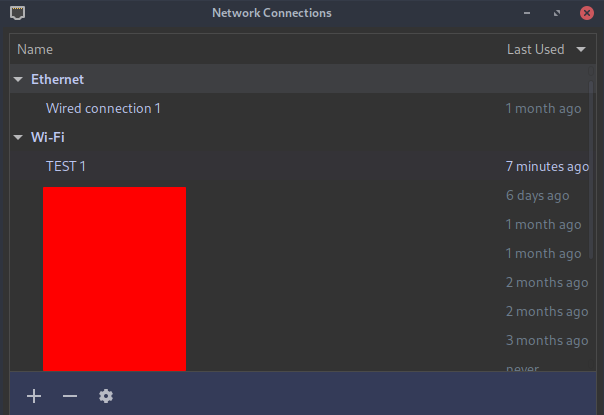
Double click on the network connection you’re using
Go to IPv4 settings and set:
Additional DNS servers - THMDCIP
The IP for THMDC can be found here:
![[attachments/Pasted image 20240510103054.png]]
Set Additional search domains - 1.1.1.1 as instructed in the room
![[attachments/Pasted image 20240510103145.png]]
Next up open your terminal and edit the /etc/hosts file using any text editor of your choice. Then enter this entry THMDCIP za.tryhackme.com
![[attachments/Pasted image 20240510103815.png]]
Go to your terminal and run the command:
sudo systemctl restart NetworkManager
Test if everything is working fine by running:
nslookup thmdc.za.tryhackme.com
![[attachments/Pasted image 20240510104057.png]]
Note: Remember to start the network
![[attachments/Pasted image 20240510104151.png]]
![[attachments/Pasted image 20240510104230.png]]
Next thing is to navigate to http://distributor.za.tryhackme.com/creds and get your credentials
![[attachments/Pasted image 20240510130303.png]]
![[attachments/Pasted image 20240510130329.png]]
To connect via ssh, use the syntax:
ssh za.tryhackme.com\\rachel.dunn@thmjmp1.za.tryhackme.com
![[attachments/Pasted image 20240510131141.png]]
![[attachments/Pasted image 20240510130523.png]]
To connect via RDP with xfreerdp, use this syntax:
xfreerdp /v:THMJMP1.za.tryhackme.com /u:rachel.dunn /p:Bmlj9838 /cert:ignore +clipboard /dynamic-resolution
![[attachments/Pasted image 20240510131411.png]]
![[attachments/Pasted image 20240510131435.png]]
Task 3: Enumeration through Microsoft Management Console
Login via RDP as show in the previous tasks.
Click on Start Menu and Open CMD
Type the following to open a Command prompt as a domain joined user za.tryhackme.com\rachel.dunn
runas.exe /netonly /user:za.tryhackme.com\rachel.dunn cmd.exe
![[attachments/Pasted image 20240511101559.png]]
![[attachments/Pasted image 20240511141633.png]]
Next is to start MMC:
![[attachments/Pasted image 20240511141721.png]]
![[attachments/Pasted image 20240511141741.png]]
Next objective is to attach the AD RSAT Snap-In
File > Add/Remove Snap-in
![[attachments/Pasted image 20240511141840.png]]
ADd all three AD Snap-ins and Select OK
![[attachments/Pasted image 20240511142014.png]]
Right-click on Active Directory Domains and Trusts and select Change Forest
![[attachments/Pasted image 20240511142122.png]]
Enter za.tryhackme.com as the Root domain and Click OK
![[attachments/Pasted image 20240511142148.png]]
Similar thing for the other 2.
Active Directory Sites and Services
![[attachments/Pasted image 20240511142239.png]]
![[attachments/Pasted image 20240511142303.png]]
Active Directory Users and Computers
![[attachments/Pasted image 20240511142450.png]]
![[attachments/Pasted image 20240511142545.png]]
Click on Active Directory Users and Computers in the left hand pane then on the top task bar click on View > Advanced Features
![[attachments/Pasted image 20240511143140.png]]
![[attachments/Pasted image 20240511143209.png]]
Ensure everything is setup completely
![[attachments/Pasted image 20240511143457.png]]